Microcement bathrooms: the pros, the cons, and the problems to avoid
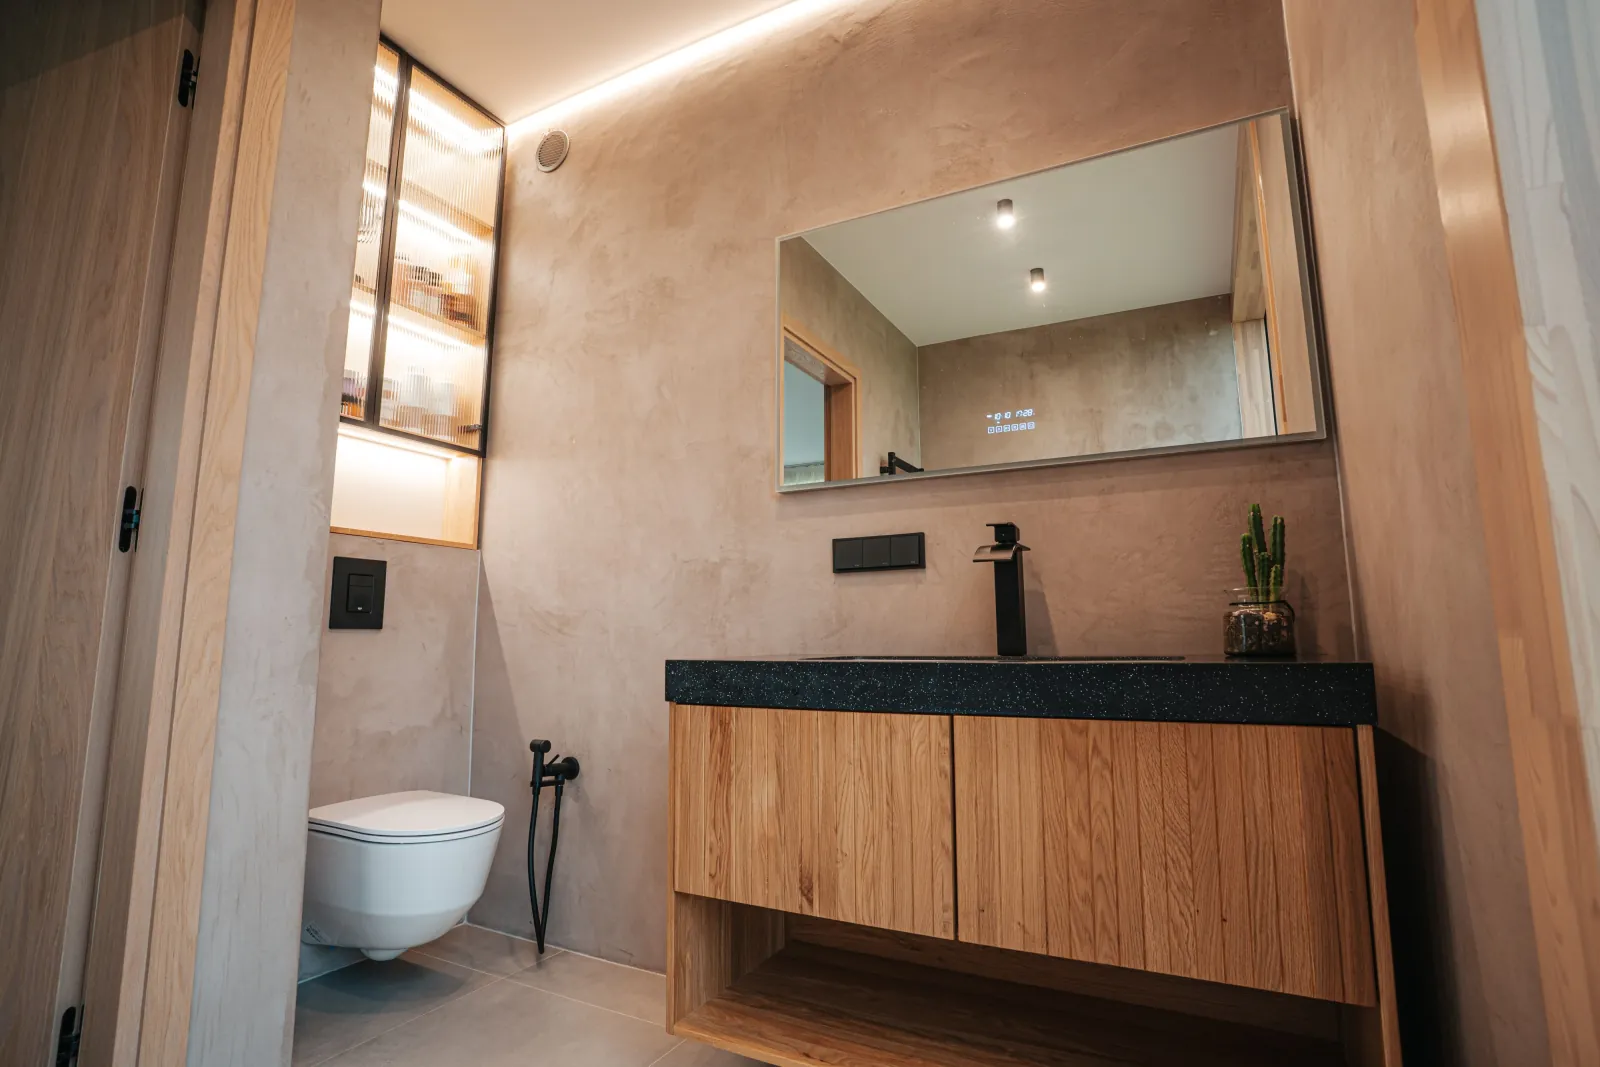
You've seen them on Instagram. Smooth walls, a floor that runs straight into the shower, not a grout line in sight. Then you read a Reddit thread where someone's microcement bathroom cracked in six months, and you're not sure what to believe.
The short answer: a microcement bathroom is a good choice when it goes over a solid, dry base, sits on a proper waterproofing membrane, and is laid and sealed by someone who knows the system. Most of the horror stories come from one of those three going wrong, not from the product itself.
So why are the stories so different? Microcement suppliers tend to say a properly laid system won't crack. Bathroom renovators tend to say Australian homes move, so it will. Both are partly right, and the difference comes down to what's underneath and how it's laid. Below, you'll find the real pros and cons, where each common problem starts and how it's prevented, and a quick check to see if microcement suits your bathroom.
The pros
- No grout lines. Nothing to scrub, nowhere for mould to settle in the joins. This is the reason most people choose it.
- It can go over your tiles. If they're solid, there's no demolition, no skip bin and much less mess. (Here's how to check yours.)
- It's thin. A few millimetres, so doors and floor levels barely change.
- It's quicker than a re-tile. One Australian installer quotes 5 to 7 working days for microcement over tiles, against 2 to 4 weeks for a full strip-out and re-tile.
- One look, everywhere. Floor, walls, shower, vanity and bath surround can all match, in almost any colour.
The cons
- It's skilled hand work. It costs more per square metre than most tiles, and the result depends heavily on who lays it.
- It's only as good as what's under it. Loose tiles, a moving floor or a failed membrane will show through, usually as cracks or leaks.
- It isn't the waterproofing. Sealed microcement is water-resistant. In a shower, the membrane underneath is what keeps water out.
- The sealer needs looking after. In a busy bathroom, expect a top-up coat every few years. One installer suggests every 2 to 5 years in high-use areas.
- Repairs are hard to hide. You can't swap out one tile. A patch can be done, but blending it invisibly is difficult.
- Floors need the right finish. A smooth, glossy floor can be slippery when wet. Floors and shower bases need a slip-resistant finish.
Microcement vs re-tiling: side by side
| Microcement over sound tiles | Full strip-out and re-tile | |
|---|---|---|
| Demolition and waste | None, or very little | Full demolition, skip bin |
| Typical time without the bathroom | About 5 – 7 working days | About 2 – 4 weeks |
| Grout lines | None | Yes, to clean and reseal |
| Waterproofing | Existing membrane stays; checked first | New membrane goes in |
| Change the layout? | No | Yes |
| Looking after it | Gentle cleaner; sealer top-up every few years | Regrout and reseal over time |
| Fixing damage | Patch repairs are hard to blend | Replace single tiles |
| Best for | A solid, dry bathroom that just looks dated | A leaking bathroom, or a new layout |
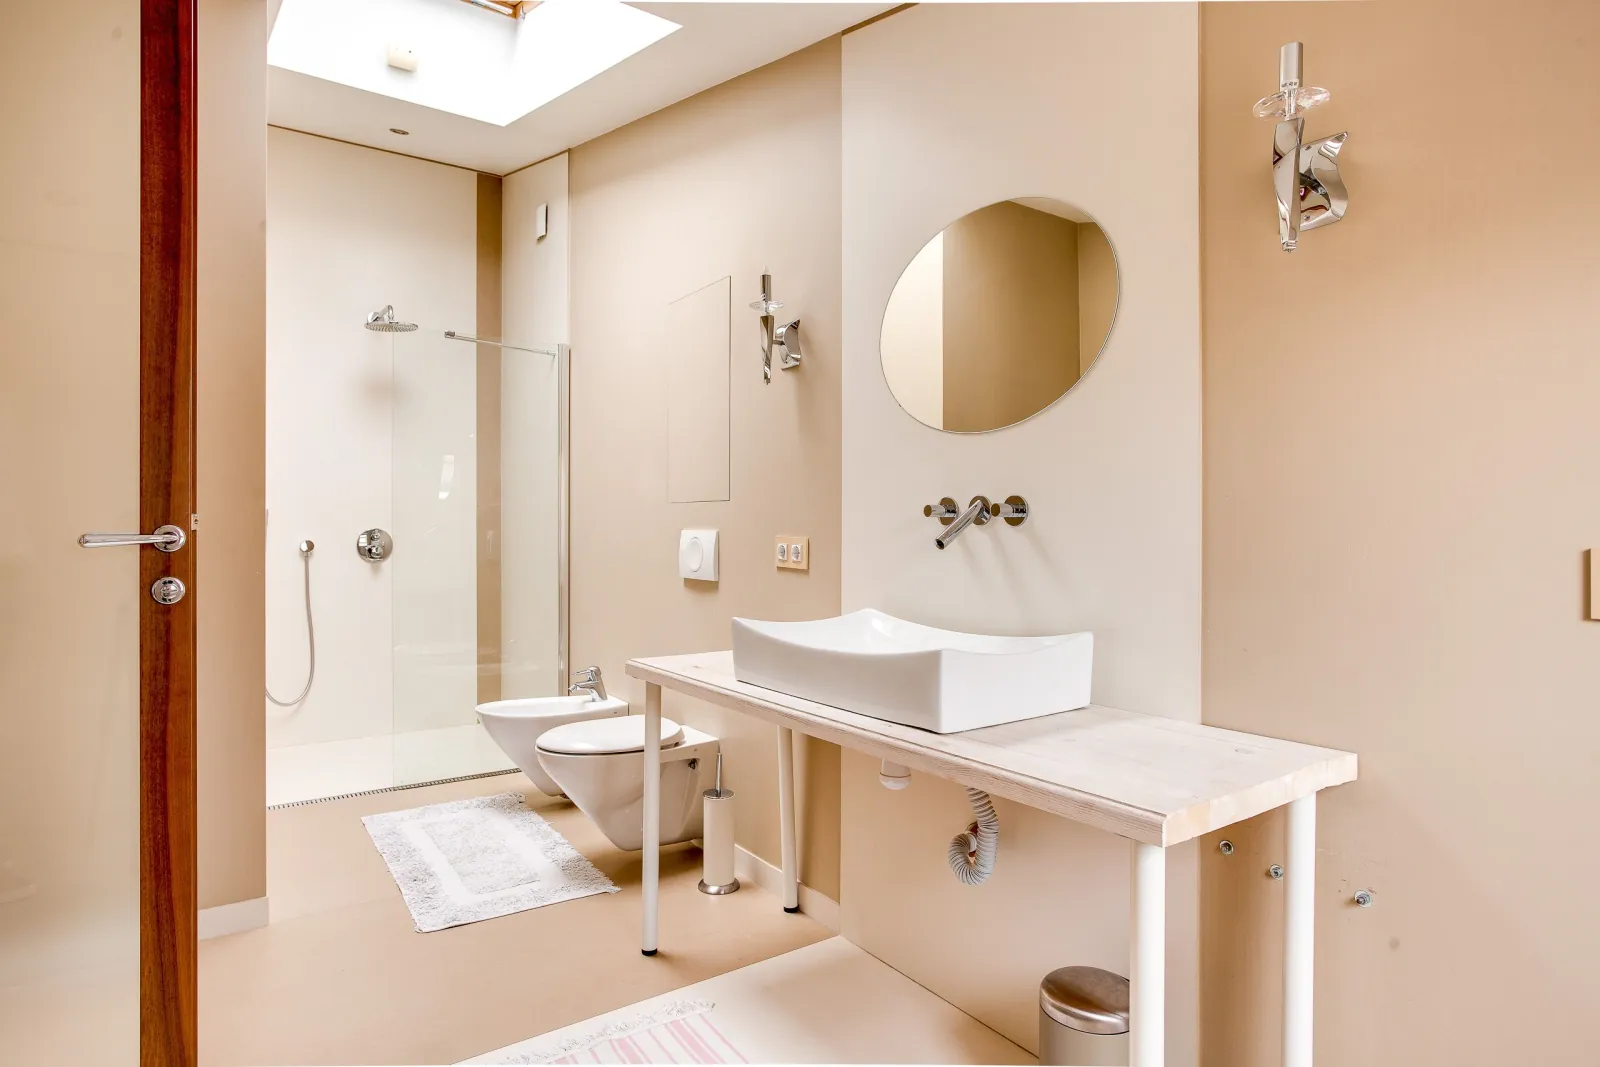
In one line: if your bathroom works and you just hate how it looks, microcement over tiles usually wins. If it leaks, moves or needs a new layout, re-tile.
Microcement bathroom problems, and what usually causes them
Here's what usually goes wrong, and why. Nearly every problem has a cause you can check for before you book.
| What you see | What usually caused it | How a good installer prevents it |
|---|---|---|
| 1Hairline cracks | Movement in the wall or floor, or no mesh over the old tile joins | Tap-tests every tile, fixes loose ones, and puts reinforcing mesh in the base coat |
| 2Grout lines showing through | Joins not filled properly, or not left to dry | Fills every grout line flush and lets it dry before the next coat |
| 3Water marks and stains | Too little sealer, or the wrong sealer for a bathroom | Uses a sealer made for wet areas, in the coats the system specifies |
| 4Leaks, or damp in the next room | A failed or missing membrane underneath | Checks for leaks first, and fixes the waterproofing before coating |
| 5A slippery floor | A smooth finish with no slip rating | Uses a slip-resistant floor finish and can tell you its P rating (AS 4586) |
| 6Peeling or lifting | Poor prep: soap scum, old sealer or a damp surface | Cleans, degreases and primes, and checks the surface is dry |
See the pattern? Five of the six come down to preparation. That's why the questions you ask before booking matter more than the colour you pick.
Where each problem starts
Most problems start in the layers you never see. The finish on top is only as good as the prep, the tiles and the membrane underneath it.
Is microcement right for your bathroom? A 2-minute check
Answer these five:
- Are the tiles solid? Tap them with a coin. A sharp sound is good; a hollow, papery sound means loose.
- Is it leak-free? No bubbling paint behind the shower wall, no stains on the ceiling below.
- Does the shower drain properly? Pour a bucket of water on the floor. It should run straight to the drain.
- Is the floor stiff? No springy spots or long cracks running across several tiles.
- Are you happy with the layout? Shower, toilet and vanity staying where they are.
- Five yes answers: your bathroom is very likely a good candidate.
- One or two no answers: not a no, but those get fixed first, and that goes in the quote.
- Leaking, or a new layout: it's a renovation. Re-tile, or rebuild the waterproofing first.
What does a microcement bathroom cost?
Published 2026 prices from one Australian installer put a whole bathroom, all walls and floors, at about $5,000 to $12,000+ plus GST, depending on size, how fiddly it is and what's underneath. We break it down by area (shower, floor, walls, vanity) on our microcement page.
One thing to know: in NSW, residential waterproofing work worth more than $5,000 (labour and materials, including GST) must be done by a licensed contractor (NSW Government).
Five questions to ask before you book
- Which microcement system and sealer will you use, and how many coats of each?
- What's going on in the shower: is there a membrane, and do I get a certificate?
- What happens if you find loose tiles, and how is that priced?
- What's the slip rating of the floor finish?
- How often will the sealer need a top-up, and what do I clean it with?
Anyone who does this properly will answer all five without hesitating.
Common questions
Is microcement good for a family bathroom?
Yes, if it's sealed properly and the floor has a slip-resistant finish. Having no grout lines makes it quick to clean. The sealer will need a top-up every few years in a busy bathroom.
Can you paint microcement?
Not with ordinary wall paint. To change the colour, microcement is usually re-coated with a thin new layer and resealed. Ask your installer what their system allows.
Can microcement be repaired?
Yes, small chips and marks can be patched. But it's a hand-made finish, so a repair can be hard to blend invisibly. Good prep and sealing up front prevent most damage.
Is microcement slippery in a shower?
It can be if the finish is smooth. Shower bases and bathroom floors need a slip-resistant finish. Ask for its P rating under AS 4586.
How long does a microcement bathroom last?
Many years, as long as it goes over a solid, dry base, sits on a working membrane, and the sealer is looked after.
Related: Microcement on the Central Coast · Can you put microcement over tiles?
Sources
- ELF Decor, "Microcement bathrooms" price and timing guide, 2026 (whole-bathroom price range, 5–7 working days vs 2–4 weeks, sealer top-up every 2–5 years in high-use areas, membrane under shower zones)
- NSW Government, Waterproofing work (licence needed above $5,000)
- Standards Australia, AS 3740 (wet-area waterproofing) and AS 4586 (slip resistance)